BeagleBone 101
Software Updates
There are multiple ways to run initial software on your board, but it is likley that the simplest way to get an update is to create an exact replica of a bootable microSD card and boot off of it. The BeagleBone Black has 2GB of eMMC storage that can be initialized by a program booted off of a microSD card. If you want to update to the latest software image for your board, this is a way to do that.
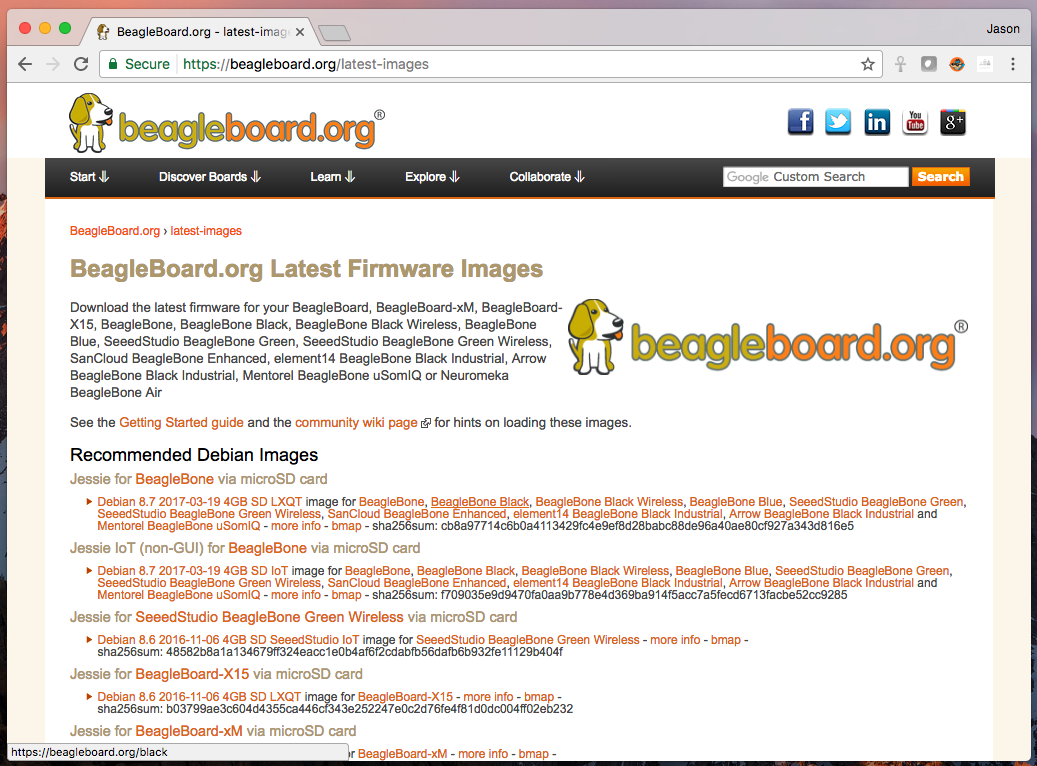
Step #1: Download the latest microSD card image
Download one of "Recommended Debian Distributions" from http://beagleboard.org/latest-images.
Note: Due to sizing necessities, this download may take 30 minutes or more.
The Debian Linux distribution ships with the boards. The file you download will have an .img.xz extention. This is a compressed sector-by-sector image of the SD card.
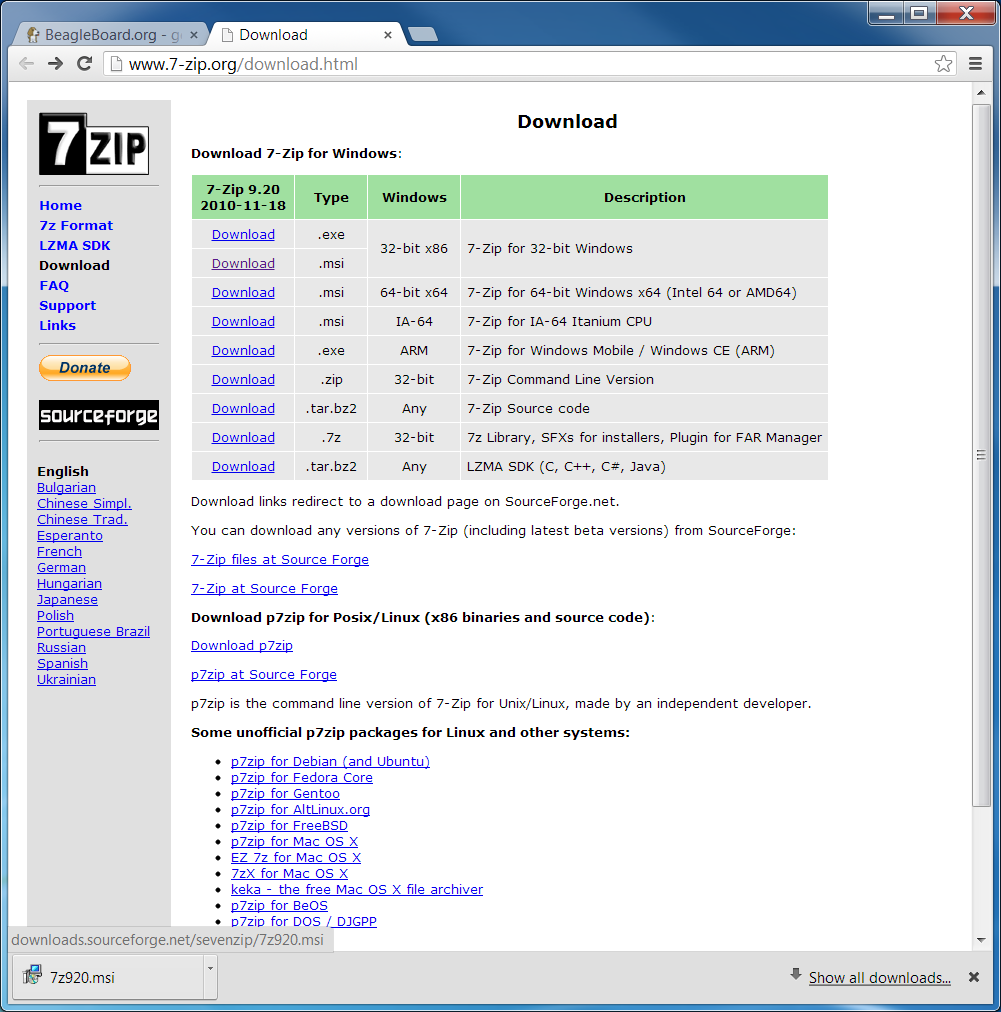
Step #2: Install compression utility
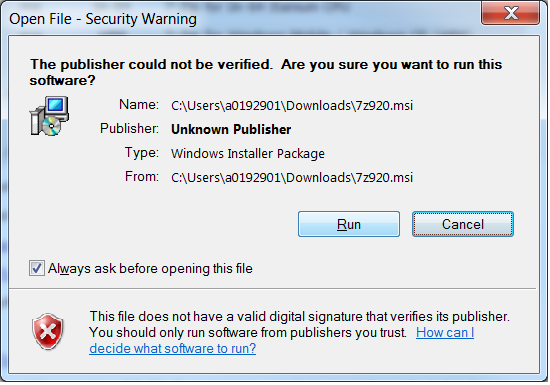
Download and install 7-zip.
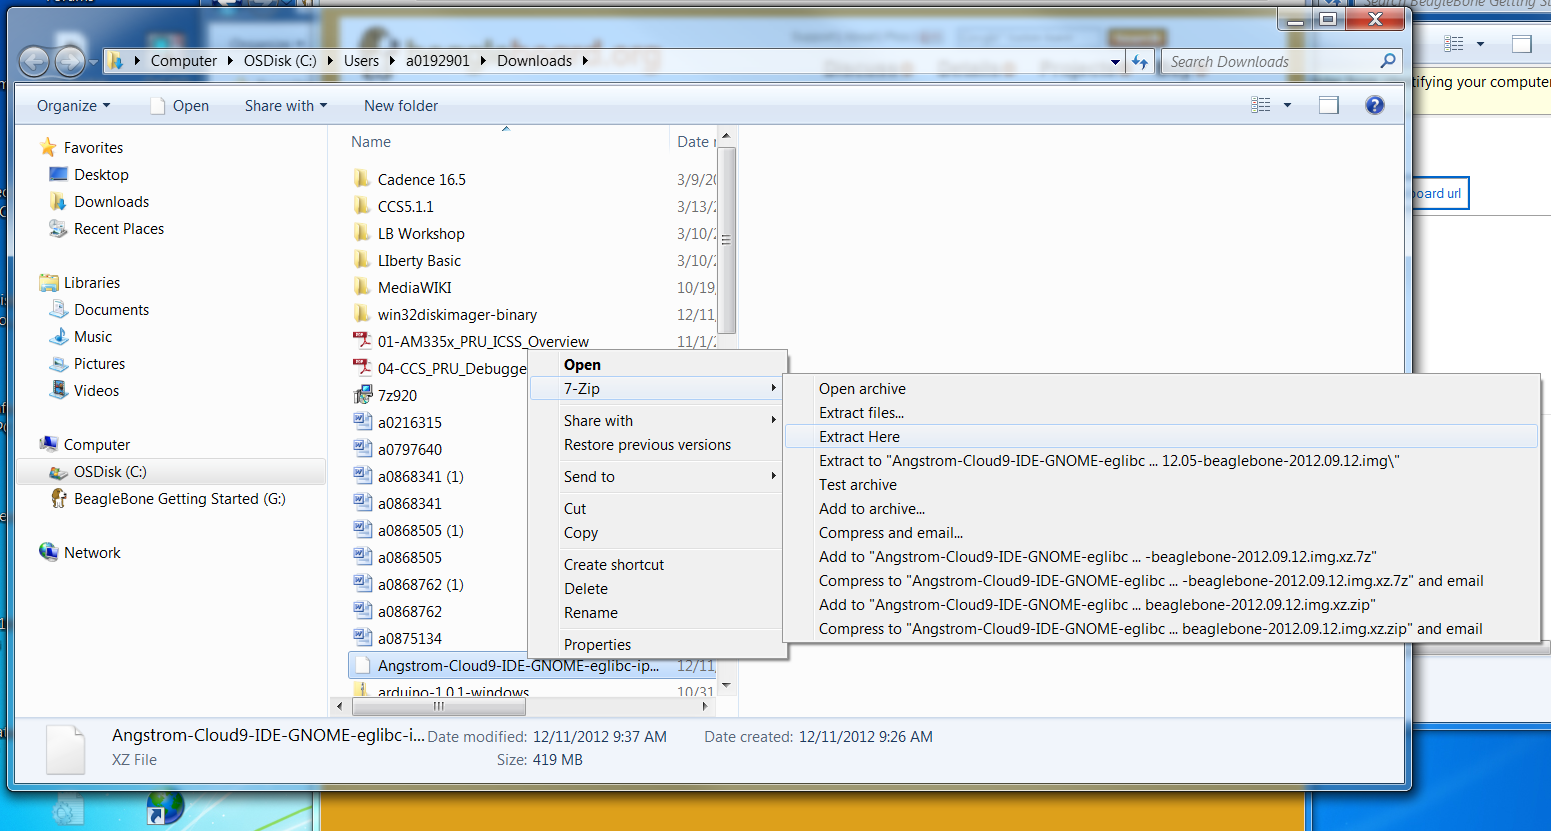
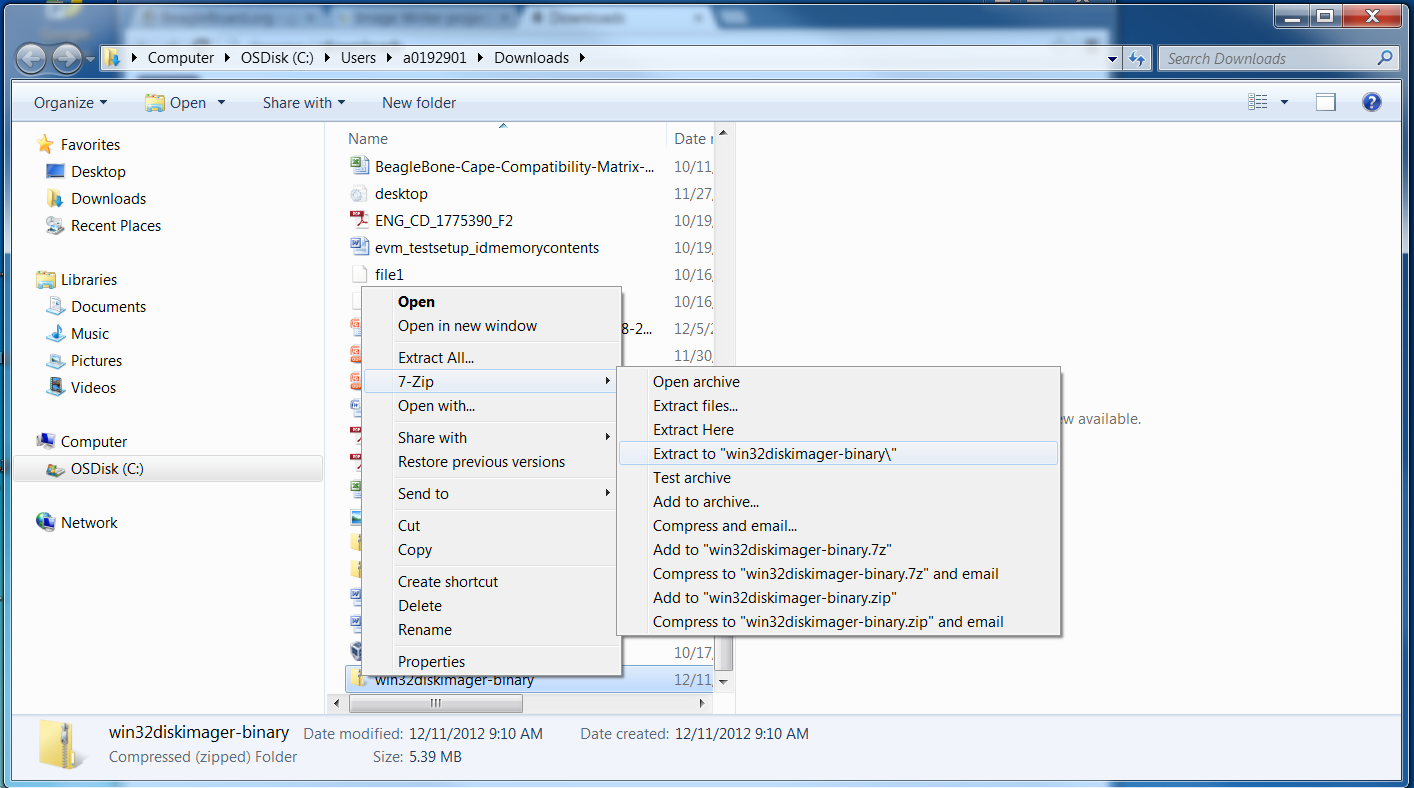
Step #3: Decompress the image
Use 7-zip to decompress the SD card .img file
Step #4: Install SD card programming utility
Download and install Image Writer for Windows. Be sure to download the binary distribution.
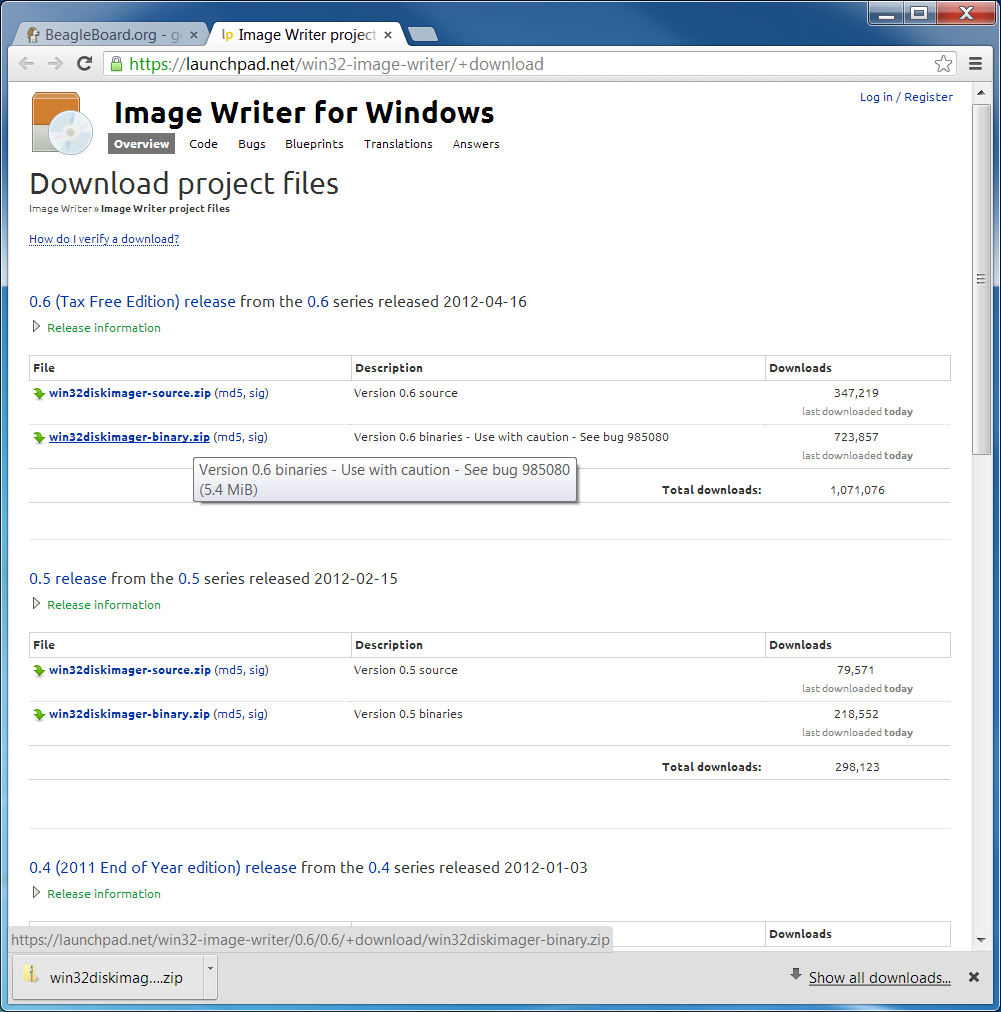
Some general help on programming SD cards can be found on the Ubuntu Image Writer page.
Step #5: Connect SD card to your computer
Use the provided microSD card to SD adapter or a USB adapter to connect the SD card to your computer.
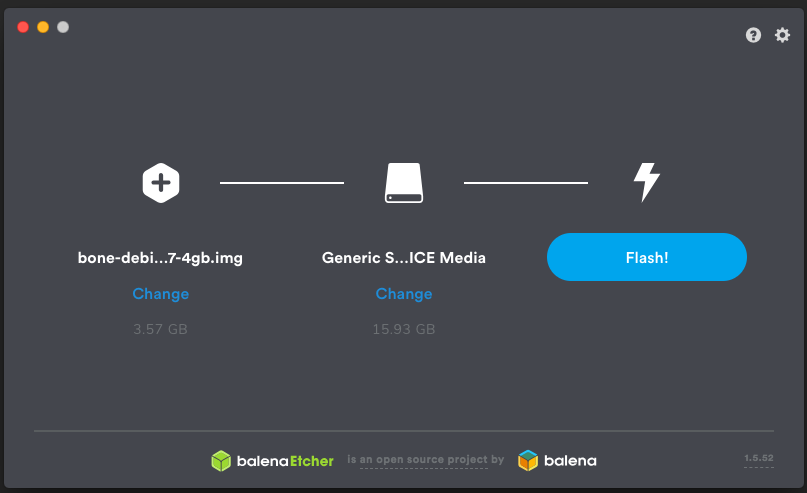
Step #6: Write the image to your SD card
Use either the Ubuntu Image Writer or instructions on its page to write the decompressed image to your SD card.
Step #7: Eject the SD card
Eject the newly programmed SD card.
Step #8: Boot your board off of the SD card
Insert SD card into your (powered-down) board, hold down the USER/BOOT button (if using Black) and apply power, either by the USB cable or 5V adapter.
If using an original white BeagleBone, you are done.
Step #9: Program your on-board eMMC (BeagleBone Black and boards with eMMC only)
If using BeagleBone Black and you want to program the on-board eMMC, you use an eMMC flasher image or turn one of the above downloaded images into one.
When booted, edit the /boot/uEnv.txt file on the Linux partition on the microSD card and remove the '#' on the line with 'cmdline=init=/opt/scripts/tools/eMMC/init-eMMC-flasher-v3.sh'. Enabling this will cause booting the microSD card to flash the eMMC. eMMC flasher images are no longer immediately recommended to avoid people accidentally overwriting their eMMC flash.
Shutdown cleanly and repeat Step #8.
You'll now need to wait while the programming occurs. When the flashing is complete, all 4 USRx LEDs will be lit solid.
Note: This can take up to 45 minutes.
Power-down your board, remove the SD card and apply power again to be complete.
